
Wedding Planning — Free Tools & Step-by-Step Guides
Plan your whole wedding in one place: seating charts, guest lists, budget, checklist and timeline — plus expert guides. Free to start.
- Free to start — no credit card
- Every planning tool in one place
- Expert guides in 40 languages
- Works on any device

Plan step by step
Five simple steps from guest list to seating chart — each with a free tool to do the work.
1. Build your guest list
Collect names, track RSVPs and headcounts with the free guest list tool.
2. Set your budget
Plan and track every cost with the wedding budget calculator.
3. Follow a checklist
Stay on schedule with a month-by-month wedding planning checklist.
4. Arrange the seating
Design your reception layout and seat every guest with the seating chart maker.
5. Explore all tools
See every free wedding planning tool in one place.
Wedding planning guides
Expert, step-by-step guides for every stage of planning.
Planning a wedding is really project management with emotional stakes: dozens of vendors, hundreds of small decisions, and a hard deadline that never moves. The tool above turns that chaos into one running list of tasks, dates, and dollars so nothing falls through the cracks in the last frantic weeks. Below is the practical playbook for using it well, from what to call the thing you're building to the mistakes that trip up even organized couples.
What Couples Actually Call This Tool
Ask five engaged couples what they're using to stay organized and you'll get five different answers. Some call it their ‘wedding planner,’ though that term also refers to a paid professional you'd hire — worth clarifying with vendors and family so nobody thinks you've hired staff. Others say ‘wedding checklist’ or ‘to-do list,’ focusing on the task side rather than the scheduling side. Wedding blogs and older guides often use ‘wedding binder,’ a holdover from the pre-digital days of a physical folder with tabs for each vendor. Planners themselves tend to say ‘master timeline’ or ‘day-of timeline’ when they mean the hour-by-hour schedule for the wedding day specifically, as opposed to the months-long planning calendar. Whatever you call it, the function is the same: one authoritative place that holds your tasks, deadlines, budget line items, and vendor contacts so you're not juggling five spreadsheets, a notes app, and a stack of napkin sketches.
- Wedding planner (tool, not the hired professional)
- Wedding checklist or master to-do list
- Wedding organizer or digital binder
- Day-of timeline vs. full planning timeline
- Project tracker (common among detail-oriented couples)
Start With Your Timeline and Budget Anchors
Before you add a single task, lock three things: your wedding date (or a firm month), your realistic total budget, and your rough guest count. Every task in the tool above should hang off those three anchors, because a task like ‘book photographer’ means something different at 12 months out versus 3 months out, and your budget determines whether you're screening five venues or fifty. Most couples plan over 9 to 12 months, which gives breathing room to book popular vendors and venues before their calendars fill. If you're working with 6 months or less, the same milestones apply, they just compress — expect to make venue and vendor decisions in parallel rather than sequentially. Enter your date and budget into the tool first; it'll reorder priority tasks around how much runway you actually have. For a fuller month-by-month structure, the 12-Month Wedding Planning Timeline and 6-Month Wedding Planning Timeline guides map out exactly what should be locked in at each stage.
Set your budget ceiling 10% below what you can actually afford — something always costs more than the initial quote.
How to Build Your Plan in the Tool, Step by Step
1. Enter your wedding date and guest count first — these two numbers drive every downstream recommendation the tool makes about timing and task priority. 2. Set your total budget in the budget tracker tab and let it auto-suggest category splits (venue, catering, attire, photography, flowers) so you have a spending baseline before you shop. 3. Open the task list and review the pre-loaded checklist — it's organized by how far out each task typically needs to happen, not alphabetically, so work top to bottom rather than skipping around. 4. Assign a due date to each major task (venue, caterer, photographer, dress) and check them off as you book; the tool will flag anything overdue in red. 5. Add vendor contacts as you book them, including contract totals and deposit amounts, so the budget tracker and your actual spending stay in sync. 6. Build your guest list in its own tab, tagging each guest by side and RSVP status so the count updates live as replies come in. 7. In the final weeks, switch to the day-of timeline view and drop in arrival times for hair, makeup, vendors, and the ceremony itself, hour by hour.
- Enter date, guest count, budget first
- Work the checklist top to bottom
- Log every vendor contract and deposit
- Tag guests by side and RSVP status
- Build the hour-by-hour timeline last
Example Layouts for Different Wedding Styles
The same tool structure adapts to very different weddings — what changes is which tasks and vendors dominate the list.
- Backyard wedding: tent rental and permit tasks replace venue-booking tasks entirely
- Black-tie ballroom wedding: heavier budget allocation to florals, lighting, and a multi-course catering timeline
- Destination wedding: guest travel deadlines and passport reminders sit alongside the usual vendor tasks
- Cultural fusion wedding: separate task tracks for two ceremony traditions with their own vendors and timing
- Small elopement: a condensed 6-8 item checklist focused on officiant, permit, and photographer only
- Multi-day celebration: each event day gets its own mini day-of timeline nested inside the master plan
Etiquette and Common Planning Mistakes
The biggest etiquette mistake couples make isn't rudeness — it's sequencing. Sending save-the-dates before you've confirmed a venue, or asking bridesmaids to buy dresses before you've picked a date, creates real cost and stress for your guests and wedding party. Confirm venue and date first, then save-the-dates (ideally 6-8 months out, earlier for destination weddings), then invitations 6-8 weeks before the day. Another common misstep is treating the guest list as flexible after invitations go out — once it's sent, your caterer and rental counts are effectively locked, so finalize the list before invitations, not after. On the money side, couples frequently forget to budget for gratuities, alterations, and day-after brunch, three costs that routinely surprise first-time planners. RSVP tracking is also where things quietly break down: set a firm RSVP deadline (typically 3-4 weeks before the wedding) and follow up personally with non-responders rather than assuming a no.
- Confirm venue and date before save-the-dates
- Lock the guest list before invitations mail
- Budget for gratuities, alterations, and brunch
- Set a firm RSVP deadline and chase non-responders
Keeping Vendors, Guests, and Budget in Sync
The reason a single tool beats separate spreadsheets is that a change in one area almost always affects another. Adding ten guests changes your catering minimum, your rental count, and possibly your venue capacity limit — three budget lines at once. Booking a photographer for an extra hour changes your day-of timeline and your final invoice. Using the tool above as the single source of truth means every task, vendor cost, and guest count lives in one place, so when you update the guest count, you can immediately see the ripple effect on your per-head catering budget instead of discovering it three weeks later in a vendor invoice. Review the whole plan on a fixed schedule — weekly in the final two months, monthly before that — rather than only when something feels urgent. This keeps small drifts (a vendor payment due date, a guest who upgraded from single to plus-one) from compounding into last-minute scrambles.
Review your full plan every Sunday in the final 8 weeks — small drifts compound fast when the deadline is close.
Examples in every theme
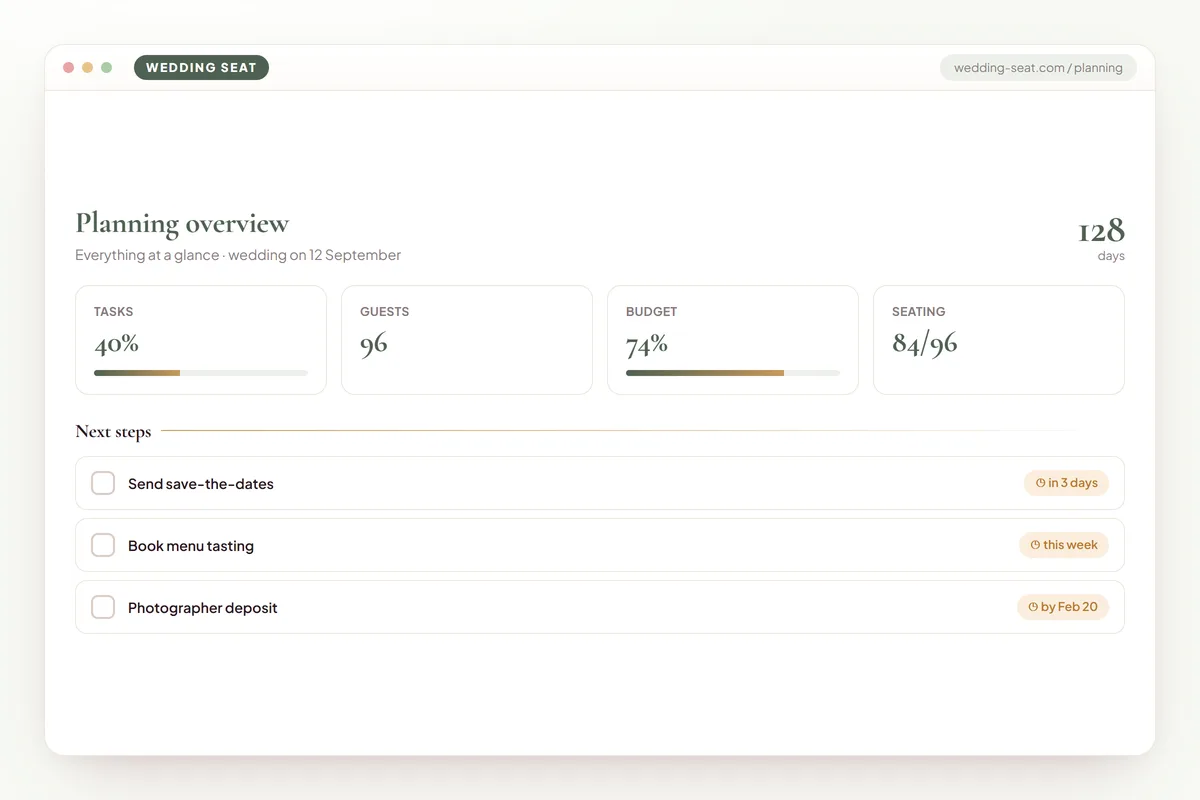
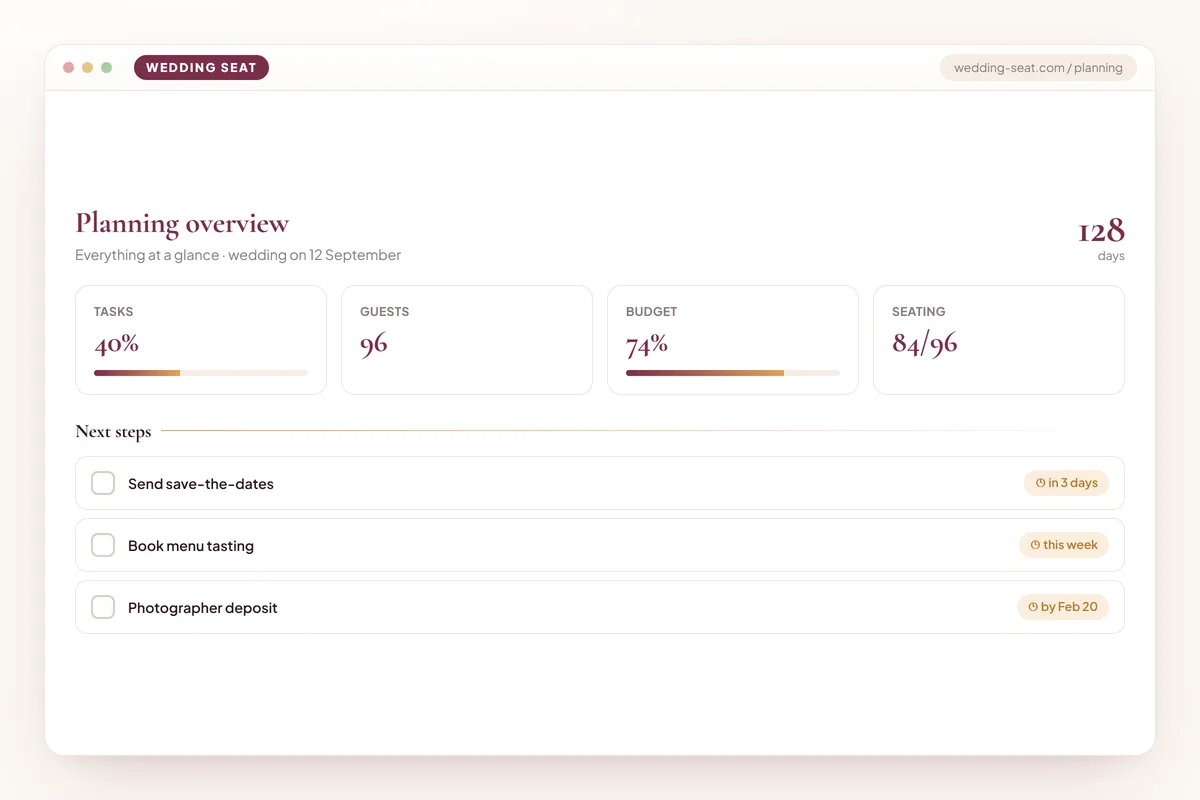
1.Planning overview · Sage & Olive 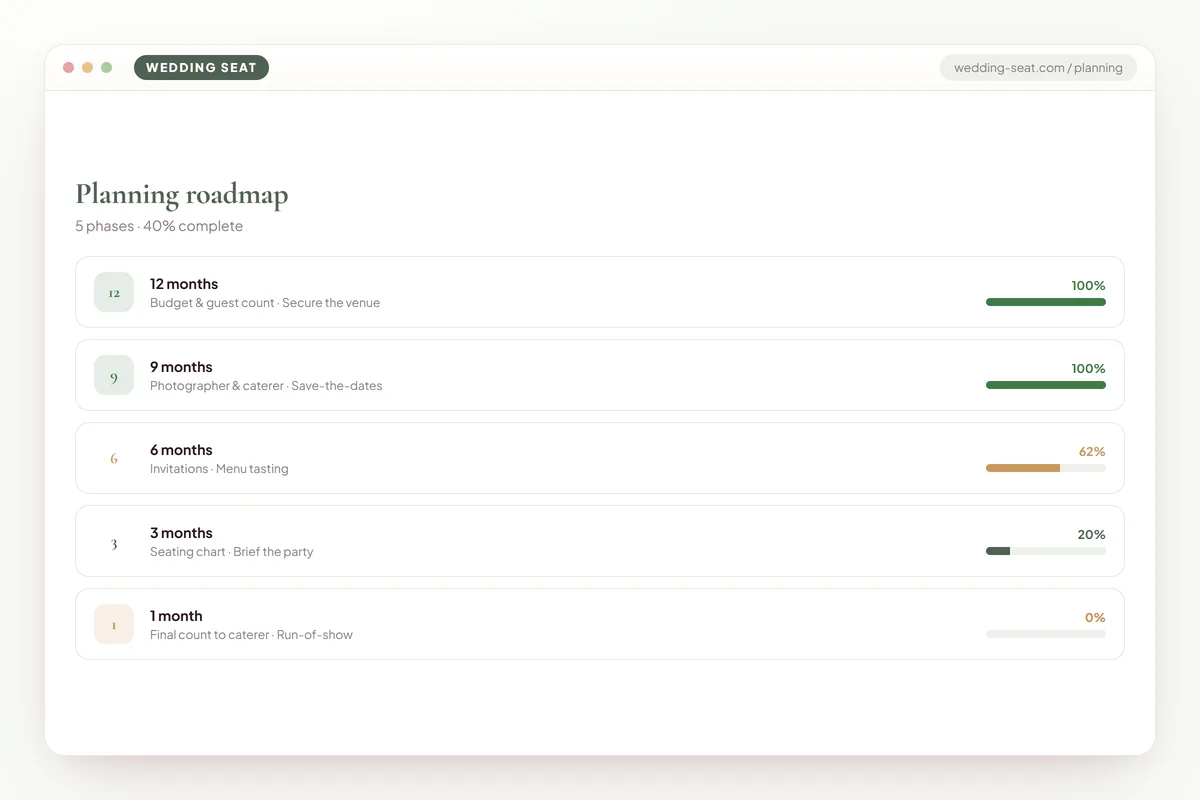
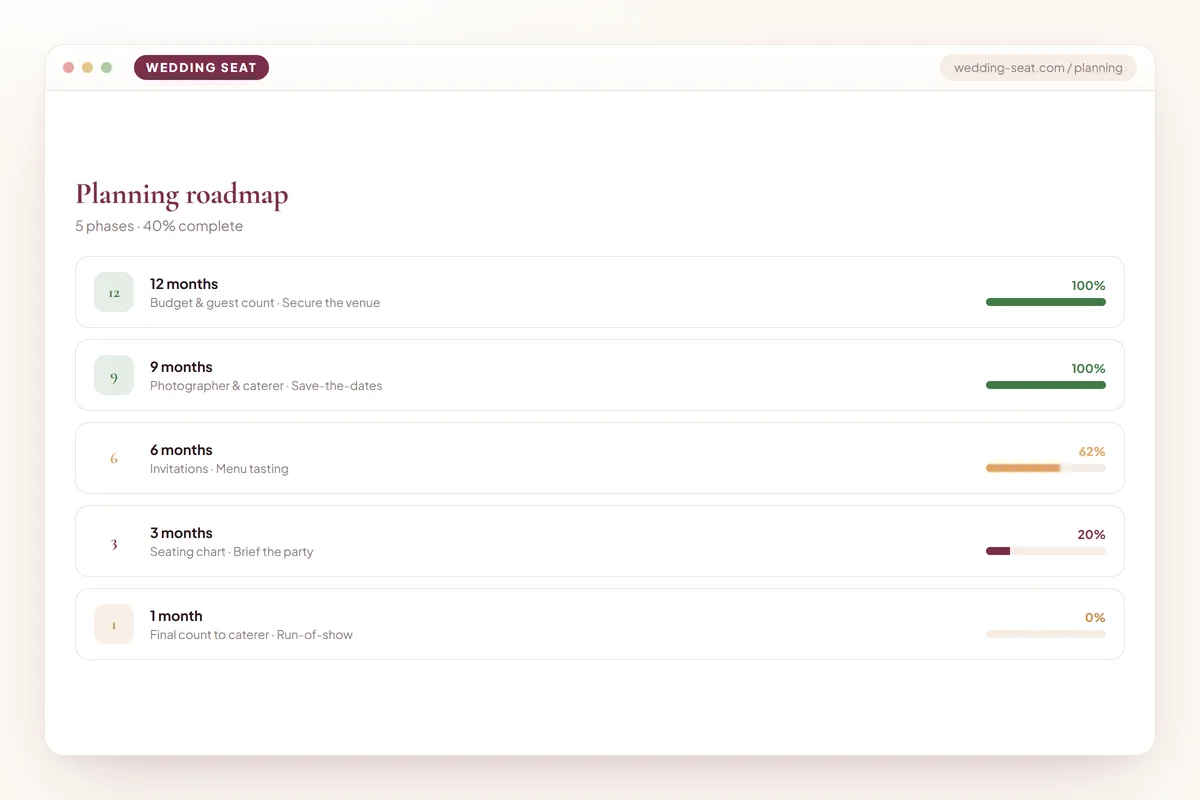
2.Planning roadmap · Sage & Olive 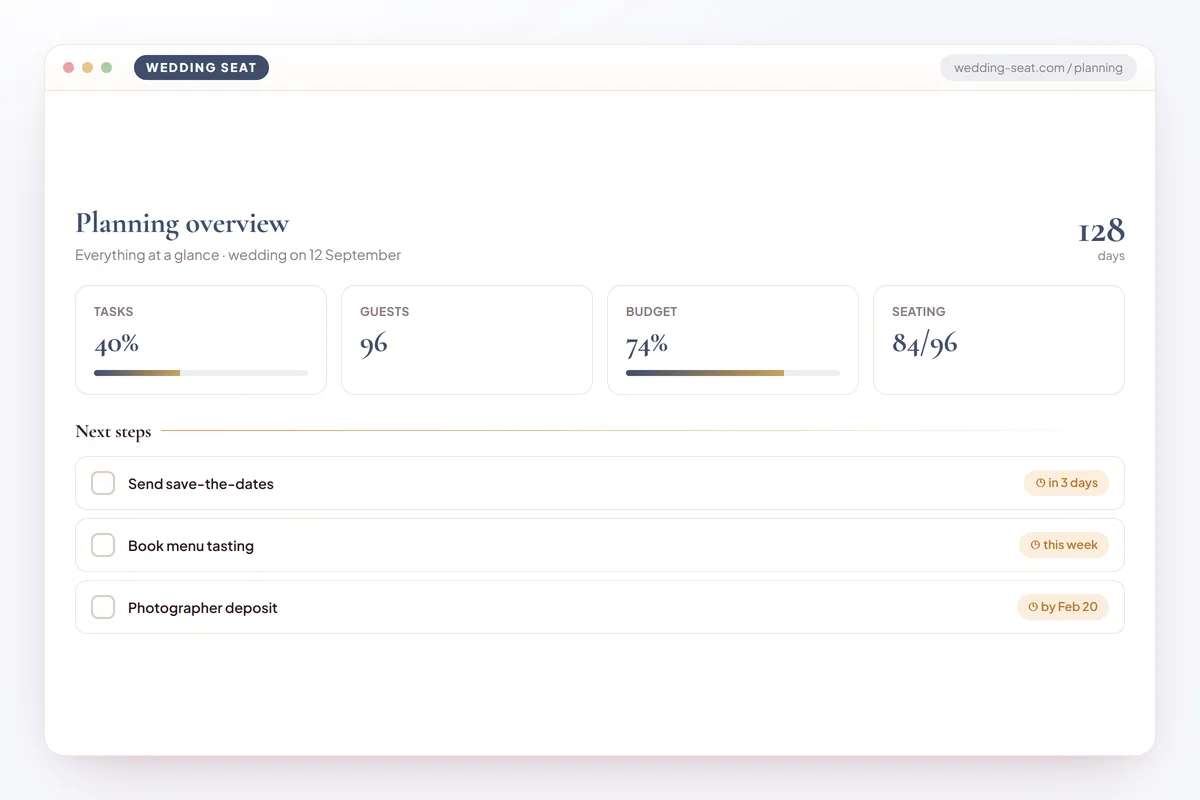
3.Planning overview · Dusk Blue 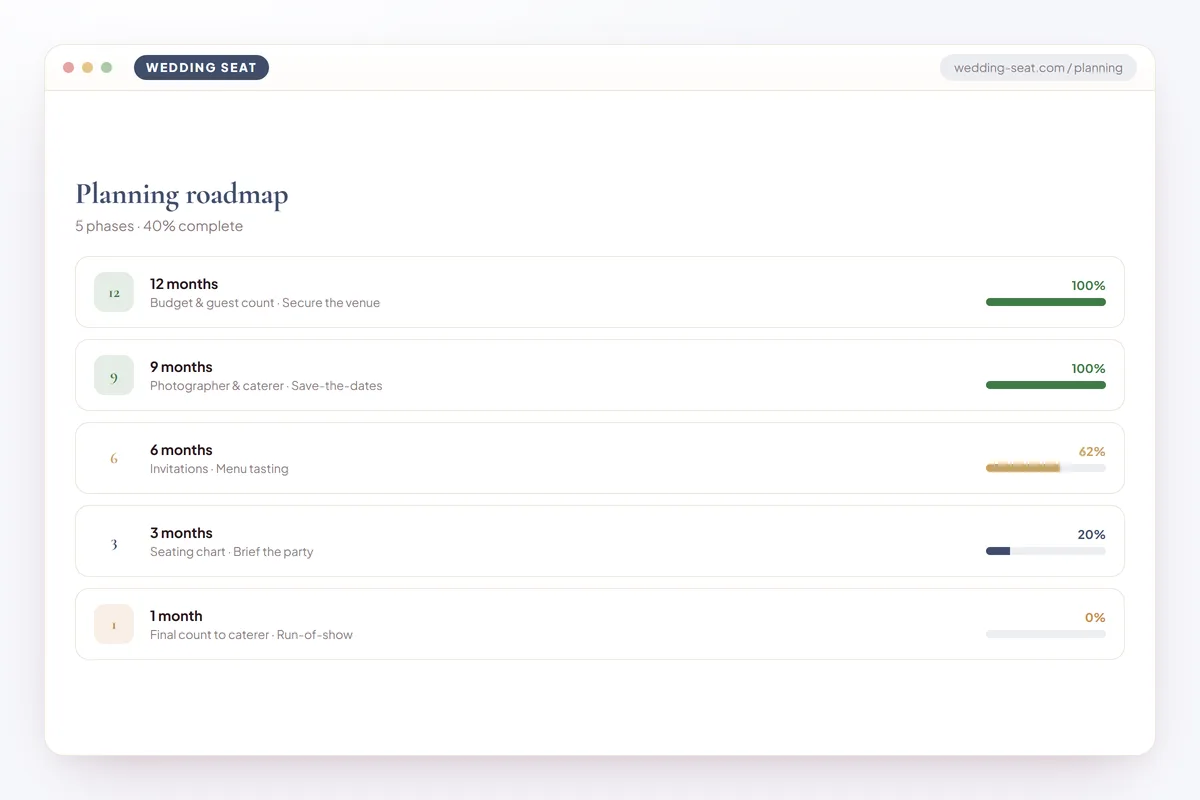
4.Planning roadmap · Dusk Blue 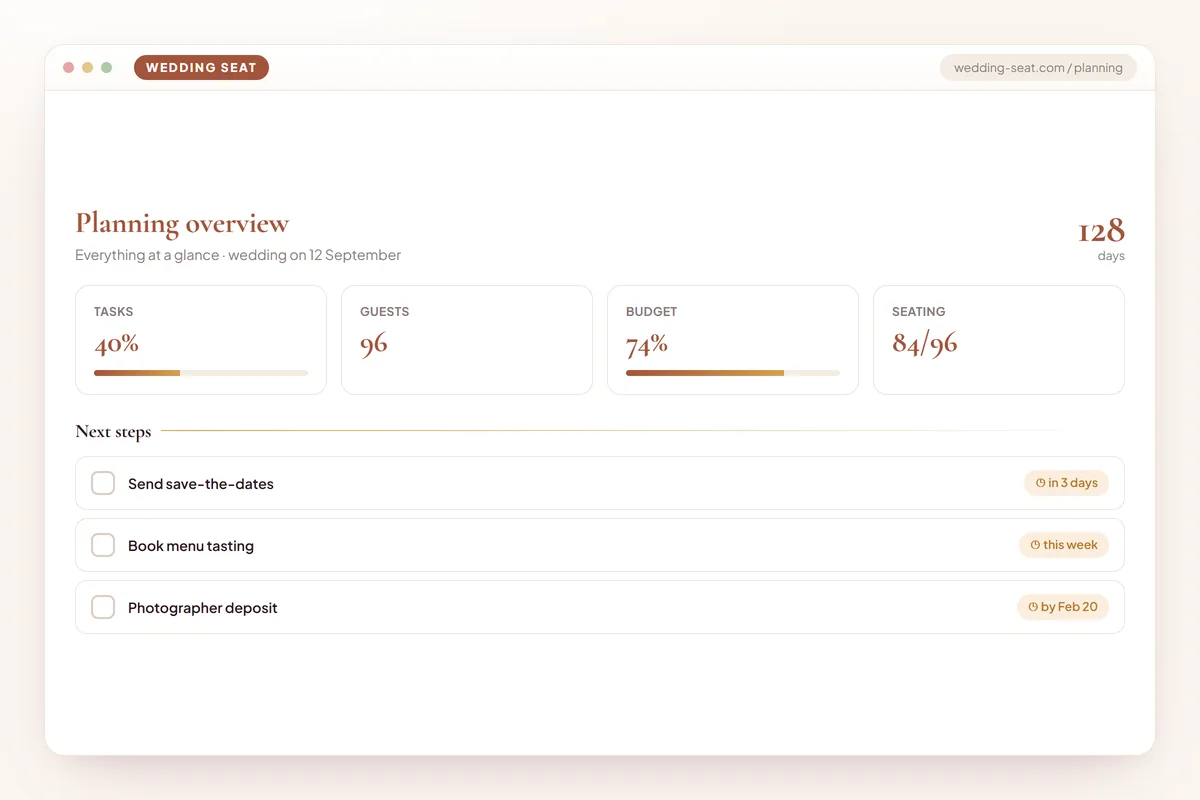
5.Planning overview · Terracotta 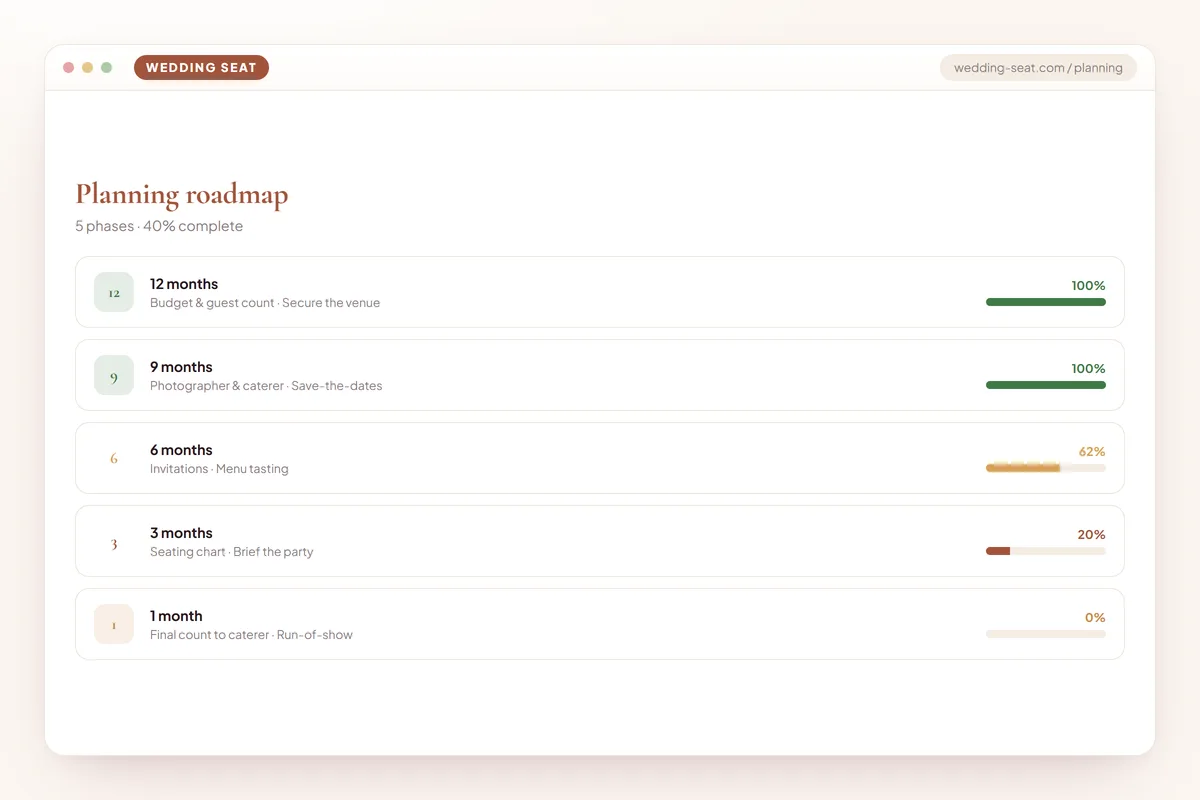
6.Planning roadmap · Terracotta
Frequently asked questions
How far in advance should we start using a wedding planning tool?
As soon as you're engaged and have a rough date in mind, ideally 9-12 months out. Starting early doesn't mean doing more work sooner — it means the tool can space out deadlines so you're never booking a venue and a caterer and a photographer all in the same frantic week.
What's the difference between a wedding planning tool and hiring a wedding planner?
The tool organizes your own decisions, deadlines, and budget; a hired wedding planner (or day-of coordinator) executes and negotiates on your behalf. Many couples use both — the tool to stay informed and in control, and a coordinator for vendor management and day-of logistics.
How many tasks should be on our wedding checklist?
Most full weddings land between 60 and 100 discrete tasks once you break big items like ‘catering’ into sub-tasks (menu tasting, final headcount, deposit, balance due). A tool that pre-loads a checklist and lets you add custom tasks is more useful than a static list, since every wedding needs a few unique items.
When should we finalize our guest list?
Before you order invitations, and ideally before you sign vendor contracts that depend on headcount, like catering. A soft guest list is fine early on for budgeting purposes, but treat it as final at least 8 weeks before the wedding so your RSVP deadline and vendor counts line up.
How do we handle budget overruns mid-planning?
Revisit your category splits rather than your total — if florals run over, look for a category with room, like favors or stationery, before increasing your overall budget. Tracking every vendor cost as you book it, rather than estimating, is what makes this kind of reallocation possible in the first place.
What's the single most common planning mistake?
Sequencing tasks out of order — sending save-the-dates before the venue is confirmed, or shopping for dresses before a date is set. A tool that ties tasks to your actual timeline rather than a generic checklist helps prevent this because it won't surface a task until its prerequisites are logically done.
Should destination weddings use a different checklist?
The core structure stays the same, but guest travel becomes its own workstream — passport reminders, room block deadlines, and travel RSVP dates need to be tracked alongside the usual vendor tasks, often starting earlier than a local wedding would require.
Ready to put this into practice? Head back up to the wedding planning tool, enter your date, guest count, and budget, and let it build your personalized checklist and timeline right now — it's free, and you can adjust every task as your plans evolve.
Ready to start planning?
Create your free wedding project and plan everything in one place.
Start free