
Wedding Website
Build a free wedding website in minutes. Share your story, event details, and RSVP with one simple link.
- All the details in one place
- Story, schedule, and directions
- Share one link with everyone
- Your story and how you met
- Event details, times, and directions
- RSVP, registry links, and FAQ
- Works on mobile and desktop
Why guests need a wedding website
Guests always have questions — where, when, what to wear — and answering each one by message doesn’t scale as the day gets closer.
How the wedding website works
Add your details, pick a look, and publish a shareable site in minutes — no design or coding needed.
1) Add your story and details
Start from a ready layout and fill in your events, times, and directions.
2) Add RSVP and registry links
Let guests reply and find your registry from one page.
3) Publish and share your link
Send one link and update the site any time as plans change.
What you can include on your wedding website
A wedding website answers every guest question in one place.
Wedding website vs group chats
Group chats and emails work until details get buried. A wedding website keeps every answer in one shareable place.
Texts and group chats
- Details get buried in the thread
- Everyone asks the same questions
- Updates don’t reach every guest
- No single place for RSVP or registry
Wedding Seat
- One page with every detail
- Answers the common questions for you
- Update once, everyone sees it
- Share one simple link
More wedding planning tools
Wedding Guest List
Track invitations, RSVPs, plus-ones, and families in one place.
Guest List Template
Use a live template instead of spreadsheets — always accurate.
Wedding Seating Chart
Build a visual seating plan and share for approvals.
Seating Chart Template
A live seating template that stays consistent as guests change.
Wedding Budget
Track costs, deposits, payments, and remaining totals.
Wedding Checklist
Stay on track with a checklist that adapts as you plan.
Wedding RSVP
Collect replies, meal choices, and plus-ones online.
Wedding Timeline
Build the wedding-day schedule and share it with vendors.
Your wedding website is the command center guests actually use — the place they check for the ceremony start time, the hotel block code, and whether Uncle Ray can bring his new girlfriend. Done well, it cuts your group texts and DMs in half and makes your RSVP count reliable weeks before the invitations even land. Here's how to build one that works as hard as you do, using the free builder above.
Why a Wedding Website Actually Earns Its Keep
Invitations have limited space, but guests have unlimited questions: parking, dress code, kids, hotel deadlines, gift preferences, weather backup plans. A wedding website absorbs all of it in one linkable, always-updated place instead of forcing you to answer the same text forty times. It also becomes your archive — engagement photos, the proposal story, your registry, and eventually your thank-you note list all live in one spot. Couples who skip it usually end up building one anyway, three weeks before the wedding, in a panic. Start now instead, even with placeholder details, and update it as plans firm up.
Launch a bare-bones version the week you get engaged — dates, location city, and a save-the-date note — then flesh it out over the following months.
What People Actually Call This Thing
Formally it's a 'wedding website,' but almost nobody says the full phrase in conversation. Couples call it 'our site,' 'the wedding page,' 'our RSVP link,' or just 'the link' when texting friends ('RSVP on the link by June 1st'). Older relatives may call it 'the wedding webpage' or ask if there's 'an online invitation.' Vendors and planners sometimes say 'couple's site' or 'wedding hub.' In writing — save-the-dates, invitation inserts, group chats — 'wedding website' or simply 'our website' reads as the clearest, most universally understood label, so use that on printed materials even if you call it something more casual out loud.
- Our site / our wedding page — casual, spoken
- The link — texting shorthand for guests
- Wedding website — correct term for print and invites
- RSVP link — when framing it around the response deadline
- Couple's site / wedding hub — vendor and planner language
Step-by-Step: Building Your Site in the Tool Above
1. Enter your names and wedding date first — this generates your homepage headline and unlocks the rest of the builder. 2. Pick a URL slug guests will actually remember (firstname-and-firstname, or a shared nickname). 3. Choose a theme that matches your wedding's formality — you can switch later without losing content. 4. Fill in the Our Story section with three to five sentences, not a full memoir. 5. Add every event guests need — ceremony, reception, welcome party, brunch — each with its own time, address, and dress code. 6. Turn on RSVP and set your response deadline about three to four weeks before the wedding. 7. Add Travel & Lodging with your hotel block link and nearest airport. 8. Link your registries. 9. Build the FAQ page addressing plus-ones, kids, and attire. 10. Preview on mobile, then publish and share the link.
Your Homepage: The First Ten Seconds
Guests decide in seconds whether your site has what they need, so lead with the essentials: your names, the wedding date, the city, and a single clear call-to-action button — usually 'RSVP.' Save long paragraphs for other pages; the homepage's job is orientation, not storytelling. A short countdown widget or a single engagement photo adds warmth without slowing anyone down. If your wedding spans multiple days or venues, note that upfront so guests don't miss the welcome dinner because they assumed the homepage covered everything. Keep navigation to five or six tabs maximum — Home, Our Story, Details, Travel, Registry, FAQ — so nothing gets buried.
Telling Your Story Without Oversharing
The Our Story page should feel like the version you'd tell a friendly stranger at a dinner party — how you met, one specific detail that makes it yours, and the proposal, kept to a few warm paragraphs. Resist the urge to write a timeline of every anniversary; guests are skimming this on their phones between errands. If either of you feels shy about writing, split it into 'his side / her side' or 'their take' short blurbs instead of one polished essay — it's often more charming and easier to draft together.
Event Details That Prevent Guest Confusion
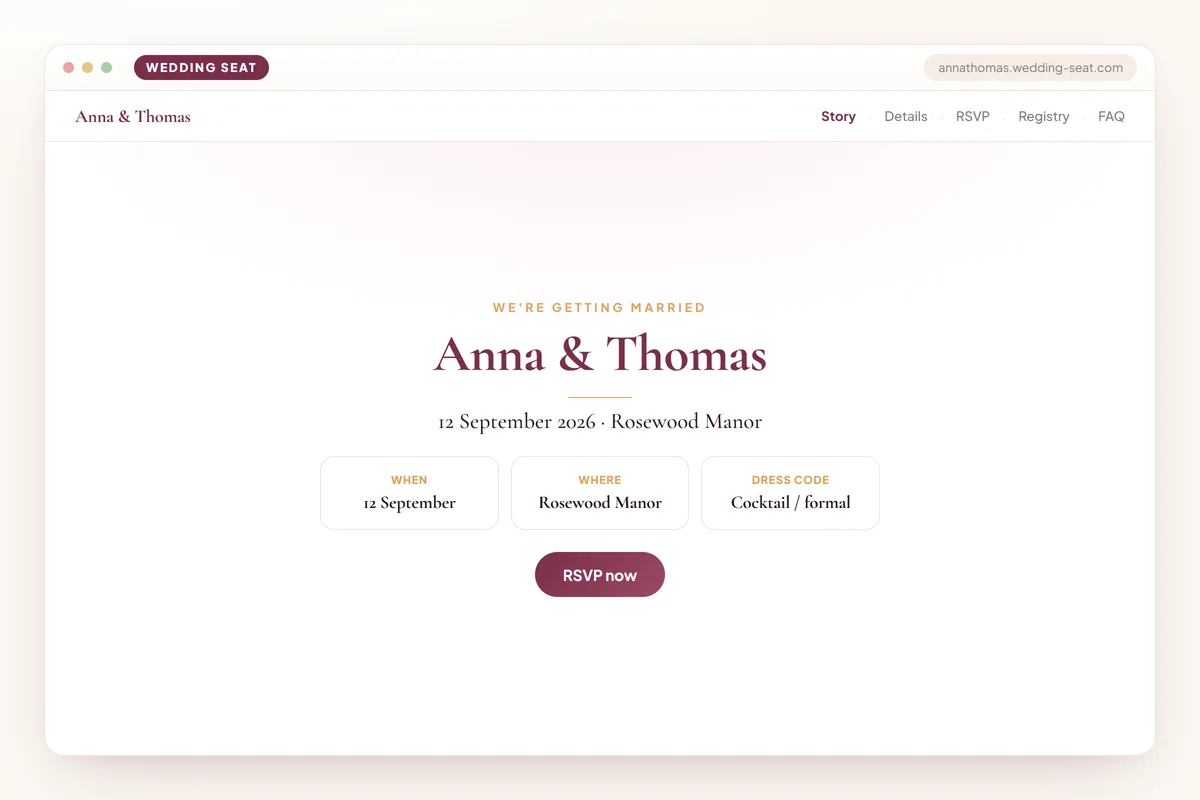
Every single event needs its own complete block: name, exact start time, full street address, dress code, and any restrictions (adults-only, invitation-only welcome party, etc.). Vague entries like 'reception to follow' send guests wandering parking lots. If the ceremony and reception share a venue, say so explicitly — guests often assume they're driving somewhere new and leave early 'to find parking,' missing the recessional.
- List every event separately, even back-to-back ones
- Give a specific start time, not just 'ceremony begins'
- Note dress code per event if it changes (welcome party vs. reception)
- Flag adults-only or invitation-only events clearly
- Include a rain plan or indoor backup if outdoors
RSVP Setup That Actually Works
Set your online RSVP deadline four to five weeks before the wedding, giving your caterer time to finalize headcounts. Ask for meal choices and dietary restrictions directly in the RSVP form rather than a separate email thread. If you're inviting plus-ones or full households, name each invited guest individually on the form so people can't quietly add uninvited dates — an all-too-common issue with generic 'party of' fields. Send one polite reminder to non-responders about ten days before the deadline; most late RSVPs are forgetfulness, not indifference.
Travel, Lodging & Transportation Page
List two to three hotel options across different price points, with your negotiated block code and the booking cutoff date front and center — guests miss discounted rates constantly because this information is buried. Note the nearest airport, average rideshare cost from it, and whether you're arranging a shuttle between the hotel and venue. For destination or out-of-town weddings, add a rough itinerary of the whole weekend so guests can plan flights around the welcome dinner and farewell brunch, not just the ceremony.
Registry Links Without Looking Greedy
Keep the registry page simple: logos or names of each store you're registered with, linking out, with no dollar totals or pressure language displayed. A one-line note like 'your presence is truly the gift, but if you'd like to give one, here's where we're registered' softens it nicely. Register across two or three stores at varied price points so guests genuinely have options, and update quantities as items get purchased so nobody buys a fourth waffle iron.
Introducing Your Wedding Party
A short bridal party and groomsmen page with names, relationship to the couple, and one sentence each keeps curious guests entertained and gives your attendants a nice shout-out. Photos help but aren't required — a clean list is fine if you're short on time. Skip this page entirely if your party is very small or you'd rather keep the site minimal; it's genuinely optional.
A Guest FAQ That Answers Everything Before They Ask
This page prevents 90% of repetitive questions: children policy, plus-one policy, exact dress code with examples ('cocktail attire — no jeans, no white'), parking situation, gift-giving norms, and what happens if it rains. Address plus-ones and kids directly and gently — 'while we love your little ones, we've planned an adults-only celebration' — rather than leaving guests to guess from the invitation wording alone.
Write the FAQ answers before finalizing your invitation wording — clarifying details like dress code or kids-policy here first often shapes exactly how formal or casual your invitation text should read.
Photos, Galleries & Pre-Wedding Content
A small gallery of engagement or couple photos on the homepage adds personality without demanding much effort. Consider adding a post-wedding gallery slot too, so once you're married you can drop in professional photos and give guests one final reason to revisit the site. Avoid overloading the page with dozens of images before the wedding — it slows load times on mobile, which is how most guests will be viewing it.
Privacy: Passwords, Guest Lists & Search Engines
If your wedding is small, private, or you simply don't want the internet at large finding it, turn on password protection and share the password only with invited guests, ideally printed on the invitation or save-the-date. Disable search engine indexing in your settings so the site doesn't surface in Google searches. This matters more than couples expect — an unlisted wedding date and address is public information the moment a site is unprotected and indexed.
Picking a URL People Will Actually Remember
Choose a slug guests can type from memory after hearing it once — firstname-lastname, or a shared nickname if your names are long or hard to spell aloud. Avoid numbers, years, or venue names in the URL since guests rarely remember them accurately later. Test it by saying it out loud to a friend and having them type it back; if they fumble, simplify it before you print it anywhere.
Showcase: Real Style Examples From Real Layouts
Different couples lean the builder's themes in very different directions, and seeing a few side by side helps clarify your own direction before you commit to one.
- A minimalist black-and-white theme with a single hero photo and one-line RSVP button, for a modern city wedding
- A botanical, script-heavy layout with a full Our Story essay and a multi-day itinerary, for a destination weekend wedding
- A playful, color-blocked design with casual copy and a group-chat tone, for a backyard or casual wedding
- A formal, monogrammed layout with muted palette and no photos on the homepage, for a black-tie ballroom wedding
- A bilingual layout toggling between two languages, for multicultural or multi-country guest lists
Matching Design to Your Wedding's Personality
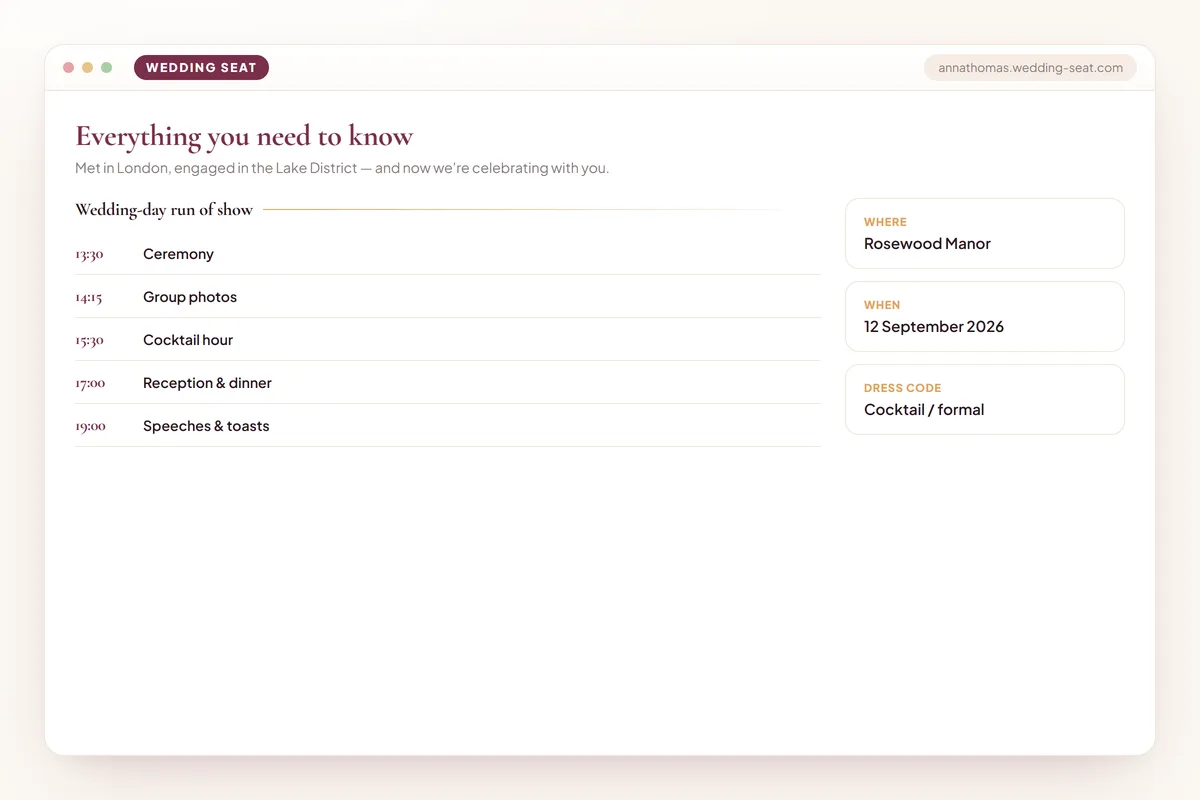
Your theme should echo your invitation suite and overall formality — a script font and floral motif for a garden wedding, clean sans-serif and bold color blocks for a modern loft wedding. Don't feel locked in early; most builders let you swap themes without losing your written content, so it's fine to draft everything first and choose the final look once your venue and vibe are fully set.
Timing: When to Launch and What Goes Live When
Launch a simple version right after you set the date, ideally before save-the-dates go out, so the link is ready the moment anyone asks. Add RSVP and full event details about six to eight months out, and finalize travel, registry, and FAQ content two to three months before the wedding as those details firm up. Keep the site live and accurate through the wedding weekend itself — day-of timeline changes happen, and the website is the fastest way to notify everyone at once.
Getting the Link Into Guests' Hands
Print the URL on save-the-dates and invitations, and repeat it in any wedding-related group text or email. Add a QR code on invitation inserts or at the welcome table for guests who'd rather scan than type. Don't rely on social media alone to share it — many relatives and older guests won't see it there, and it's easy to lose in a feed.
Destination & Multi-Event Weddings on One Site
When your wedding spans a weekend or multiple locations, the website becomes essential rather than optional — build a clear day-by-day itinerary page with times, locations, and which events are optional versus required attendance. Note passport or visa requirements, currency, and typical weather for the season if you're hosting internationally, and separate 'guest list for full weekend' from 'guest list for ceremony only' if you're inviting different sizes of groups to each.
Etiquette & The Mistakes That Actually Annoy Guests
Never list registry information or gift-giving expectations anywhere near the top of the homepage — it reads as demanding, even when unintentional; keep it on its own clearly labeled page. Don't leave the RSVP deadline vague ('please respond soon') — give an exact date. Avoid password-protecting the site and then forgetting to share the password anywhere, which locks out the very guests you invited. Don't bury the dress code in a paragraph; state it as a clear standalone line. Finally, keep the tone consistent with your actual wedding — an ultra-formal site for a backyard barbecue wedding sets the wrong expectations, and vice versa.
If parents or in-laws are contributing financially or emotionally invested in the event, let them review the site once before it goes fully public — it prevents surprised phone calls later.
Free vs. Paid: What You Really Need
A genuinely free wedding website builder covers what 95% of couples need: RSVP collection, event details, registry links, photos, and a custom URL. Paid upgrades typically add things like guest list management syncing, custom domains without a platform name attached, or advanced design customization — nice but rarely essential. Start entirely on the free tier, and only consider upgrading if you specifically need a feature the free version lacks, rather than upgrading preemptively.
After 'I Do': What Happens to the Site
Keep the site live for several months post-wedding — add a thank-you note, a link to professional photos once they arrive, and update the RSVP page to a simple 'thank you for celebrating with us' message. Many couples leave it up as a permanent keepsake page rather than taking it down; it costs nothing to leave running and becomes a nice thing to revisit on anniversaries.
Examples in every theme
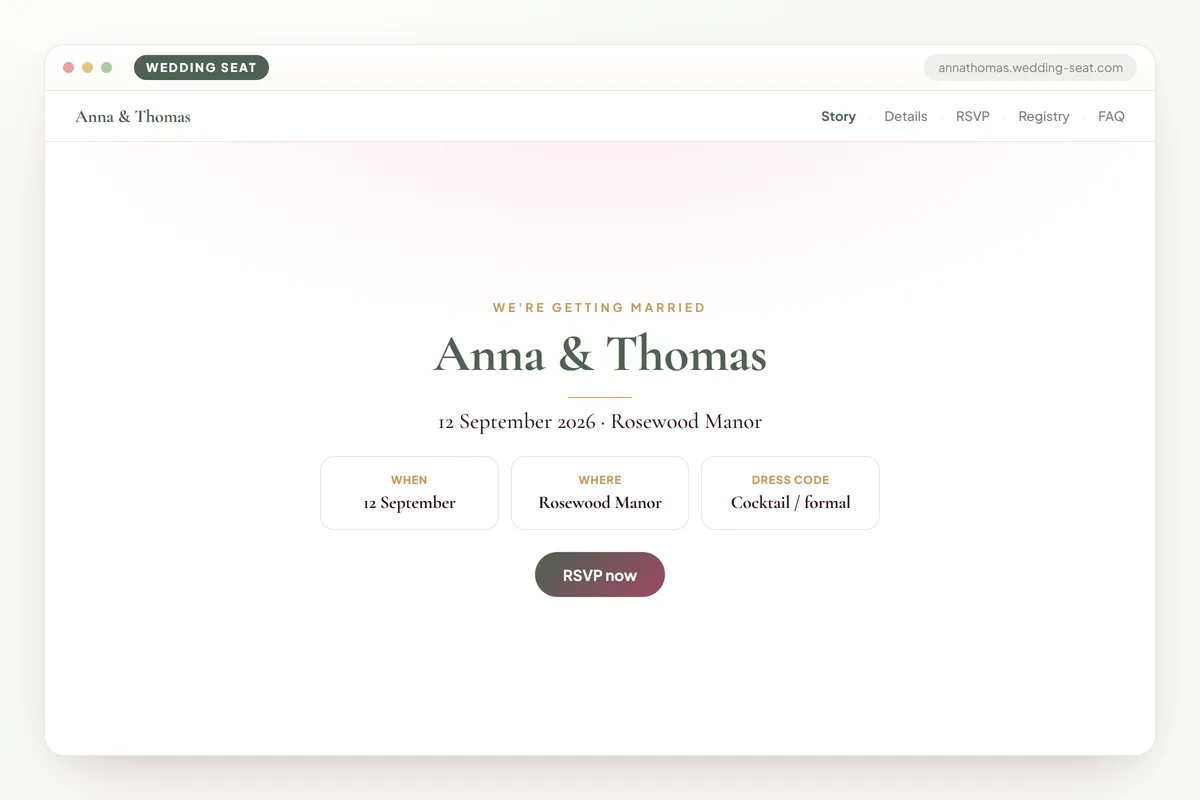
1.Anna & Thomas — Wedding website · Sage & Olive 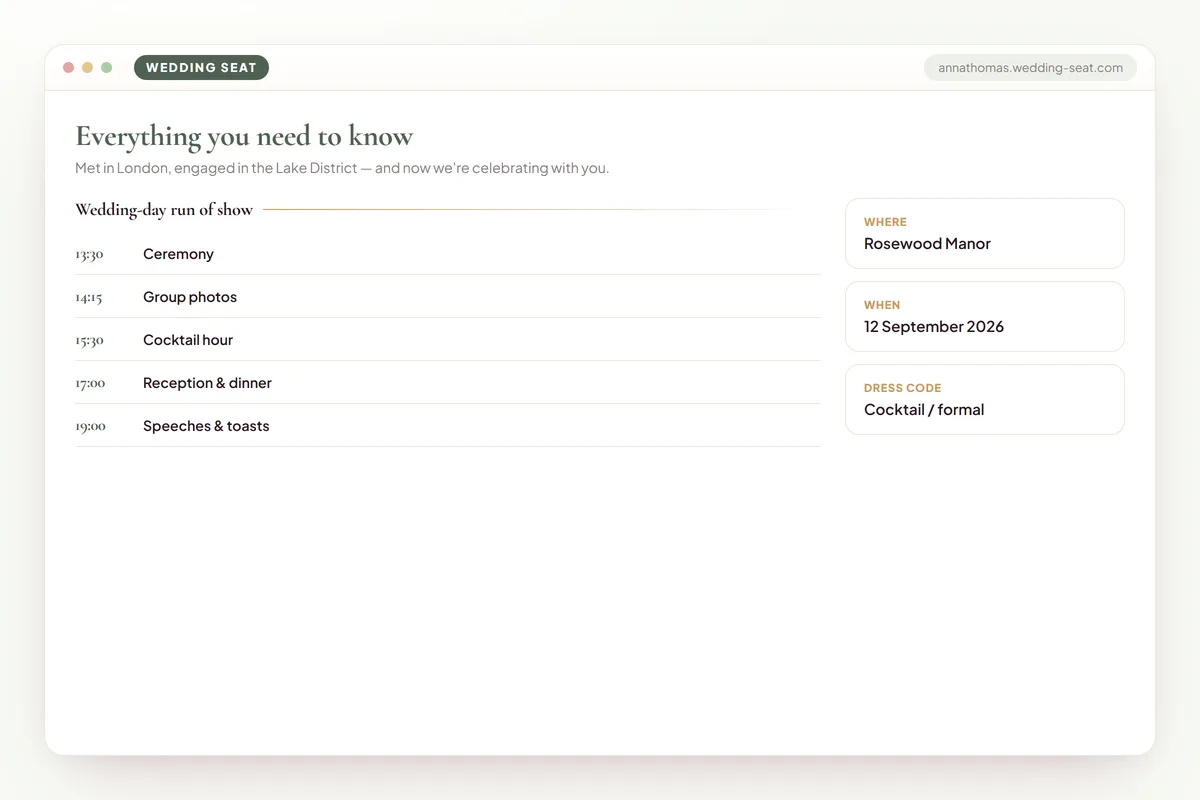
2.Wedding website – details · Sage & Olive 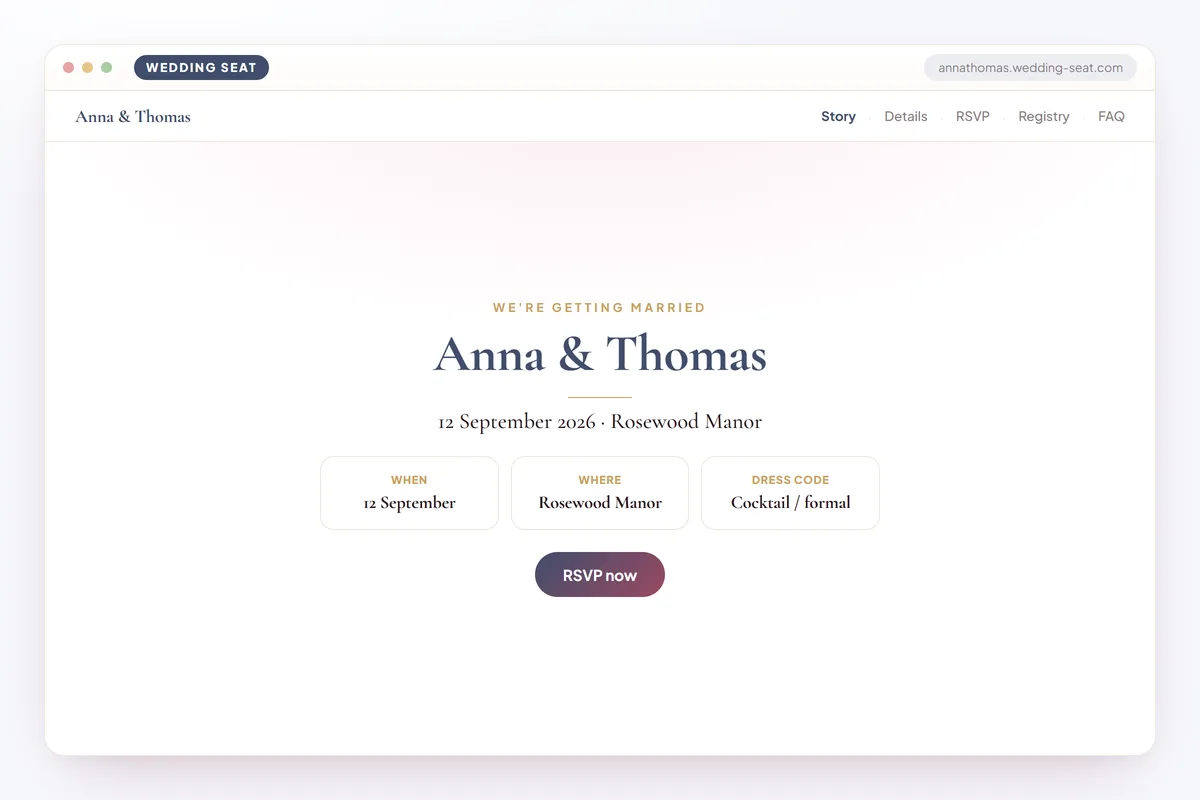
3.Anna & Thomas — Wedding website · Dusk Blue 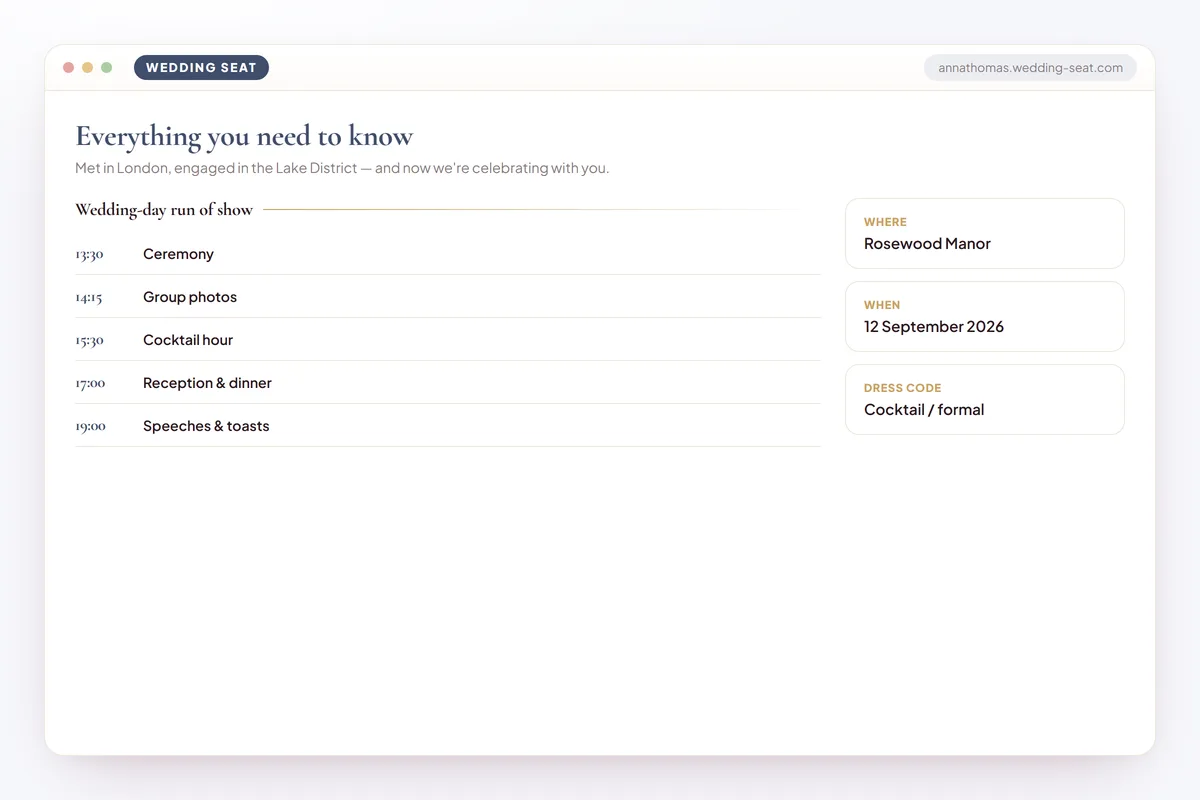
4.Wedding website – details · Dusk Blue 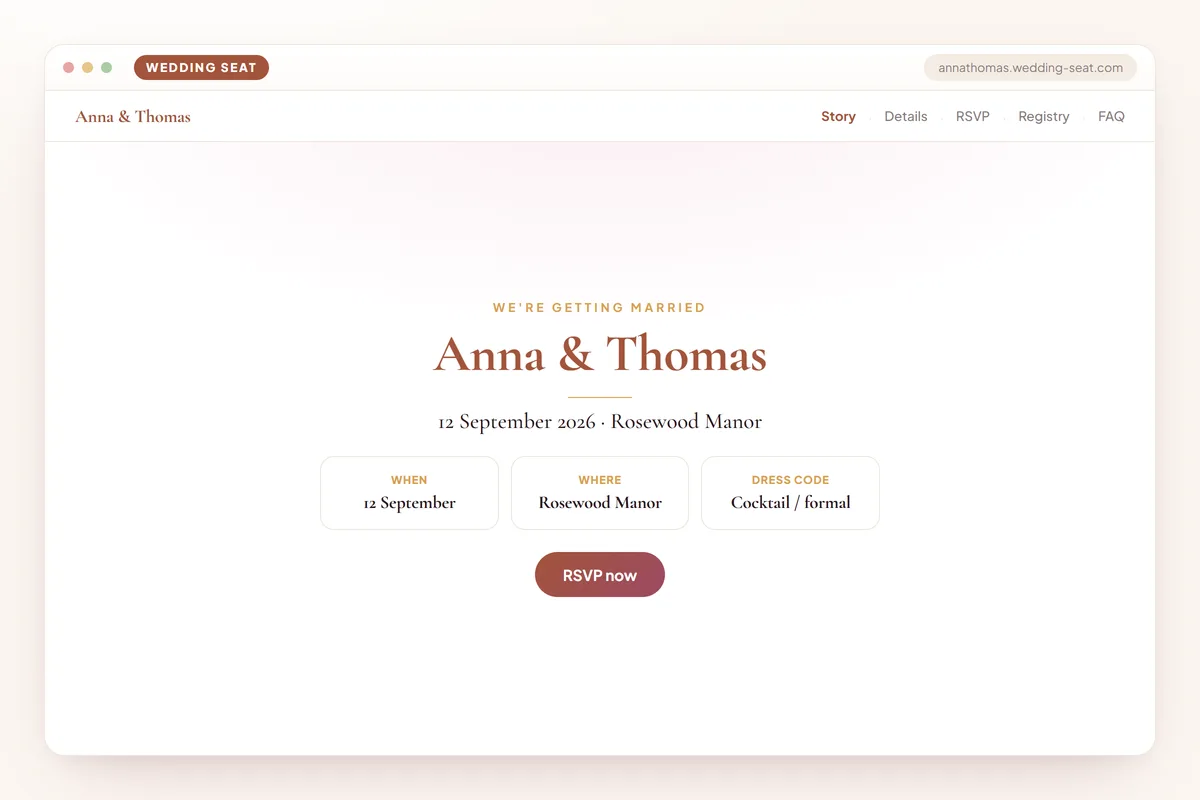
5.Anna & Thomas — Wedding website · Terracotta 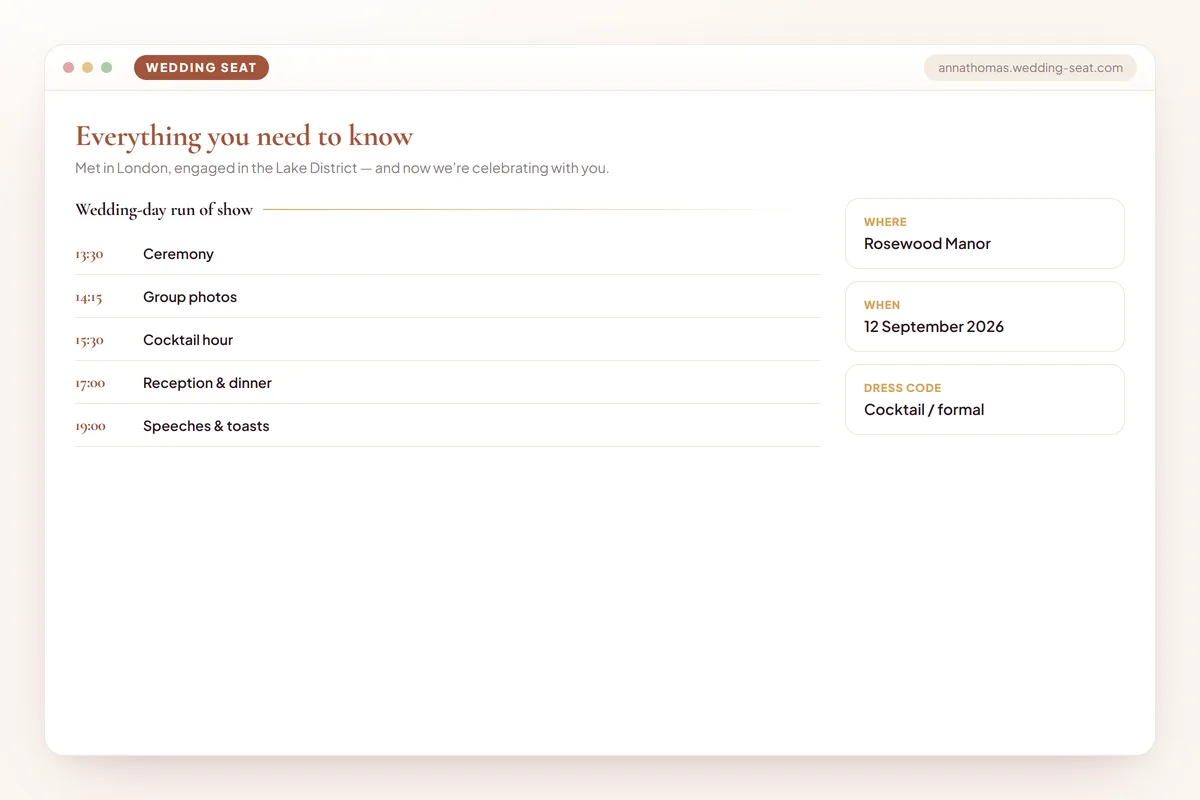
6.Wedding website – details · Terracotta
Frequently asked questions
Do we need a wedding website if we're sending traditional paper invitations?
Yes — paper invitations have limited space for details like hotel blocks, dress code nuance, or a full itinerary, and a website handles all of it without cluttering your invitation suite. Most couples print just the URL on an invitation insert card, letting the site carry the heavier logistical load.
How early should we launch our wedding website?
Launch a basic version — names, date, city — as soon as you're engaged or right before save-the-dates go out, then build out RSVP, travel, and registry details over the following months as they're confirmed. There's no downside to launching early since you can keep editing it right up to the wedding.
Should our wedding website be password protected?
If you want to keep wedding details private from search engines or unintended guests, yes — enable password protection and disable search indexing, then share the password directly with invited guests via the invitation or save-the-date. If privacy isn't a concern, an open site is simpler and easier for guests to access without an extra step.
What's the biggest mistake couples make with their wedding website?
Leaving out specific, concrete details in favor of vague language — 'reception to follow,' 'cocktail attire,' or 'RSVP soon' without dates or examples all generate the exact flood of guest questions the website was supposed to prevent. Specificity is what actually reduces your inbox.
Can we use the same wedding website for a multi-day destination wedding?
Yes, and it's ideal for that — build a day-by-day itinerary with clear start times and locations for each event, note which are optional versus required, and add practical destination details like nearest airport, passport requirements, and typical weather so guests can plan travel confidently.
How do we handle plus-ones and kids on the website without being awkward?
Address it plainly and warmly in the FAQ section and directly on the RSVP form by naming each invited guest individually rather than using a vague 'and guest' line. A simple line like 'we've planned an adults-only celebration' or 'this invitation is for [name] only' handled gently prevents most confusion without feeling harsh.
Do we still need the website once we're married?
Many couples keep it running for months afterward as a thank-you page and a place to share professional photos once they arrive, then leave it up indefinitely as a free keepsake. There's rarely a reason to take it down immediately after the wedding.
Ready to see it come together? Scroll back up and start filling in your names, date, and first event — the free builder above saves as you go, so you can build your whole site in one sitting or come back to it all engagement season.
Plan faster
Start your free wedding project in seconds.